Photoshop Fundamentals
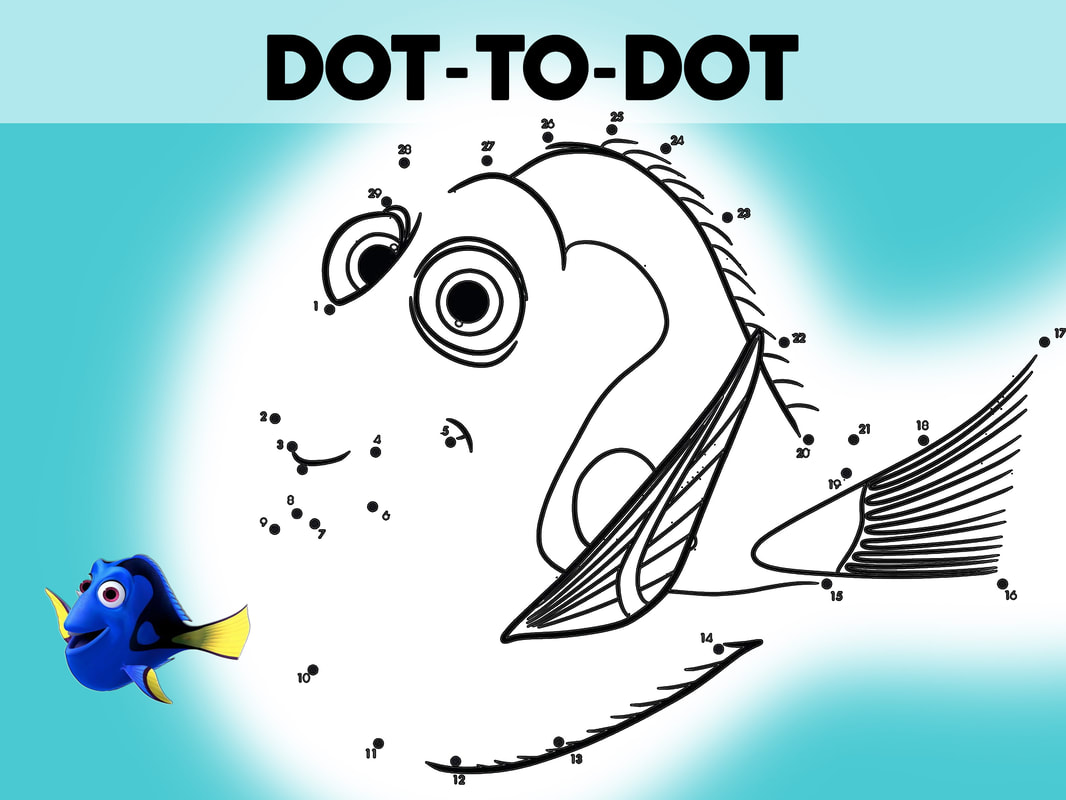
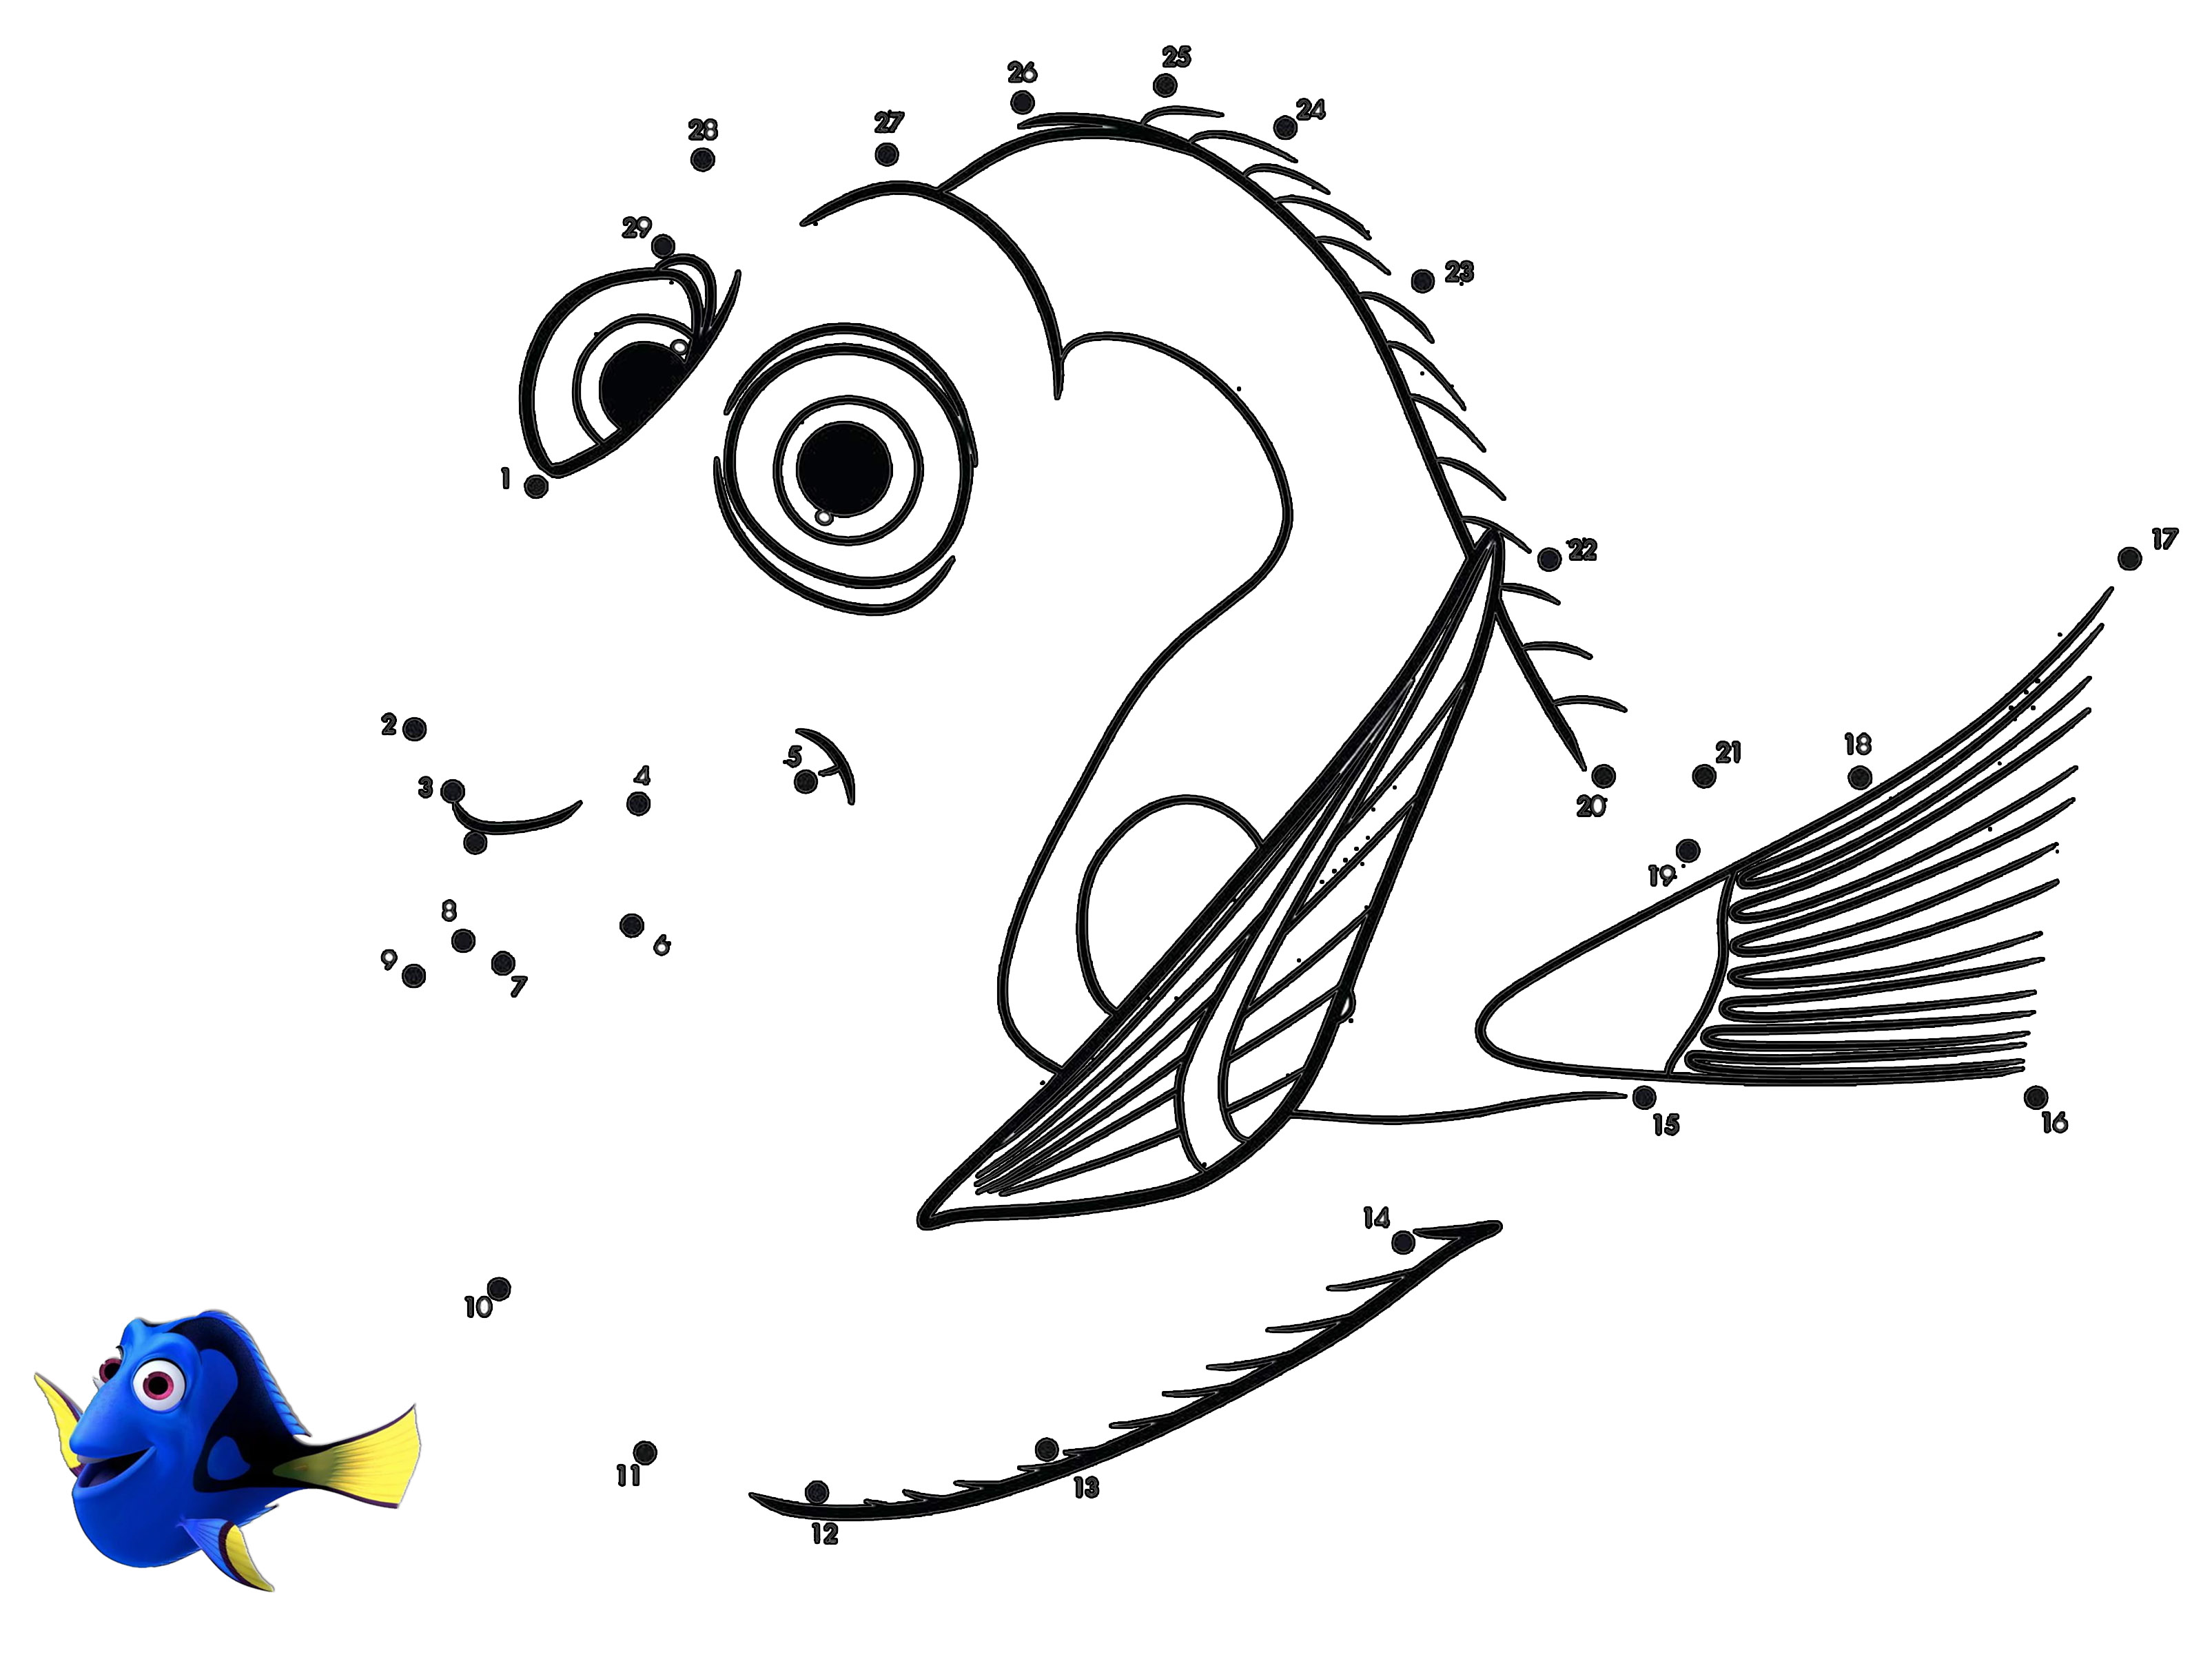
PROJECT 5: Dot to Dot
PROJECT GOAL: Students will work with the Magic Eraser, Eraser, Magic Wand, Fill and Gradient Fill tools in Photoshop.
Students will use the brush tool or the pencil tool to connect the dots. The will then use the Pant Bucket and Gradient fill tools to color the image.
The Brush and Pencil tools are nested together on the toolbar, so look for a pencil or brush icon and select the one you want by clicking the tiny arrow. You hold down the cursor and drag to draw a line with this tool. This is a free-form process; just click on the canvas and start drawing. If you want to add a straight line, press the shift key as you drag. Release the shift key to return to free-form curves. The color and weight of the line can be adjusted. The brush and the pencil work the same way with some different effects. Any line drawing requiring color and creative design can benefit from the brush tool settings.
The Brush and Pencil tools are nested together on the toolbar, so look for a pencil or brush icon and select the one you want by clicking the tiny arrow. You hold down the cursor and drag to draw a line with this tool. This is a free-form process; just click on the canvas and start drawing. If you want to add a straight line, press the shift key as you drag. Release the shift key to return to free-form curves. The color and weight of the line can be adjusted. The brush and the pencil work the same way with some different effects. Any line drawing requiring color and creative design can benefit from the brush tool settings.
|
YOUR JOB: You have been hired by a coloring book publisher to create a cover for a connect the dot activity book. The publisher has supplied you with one image for you to connect the dots add color. You are to follow the directions given by the project manager to complete the project for the target audience:
DIRECTIONS:
Download Files:
| ||
