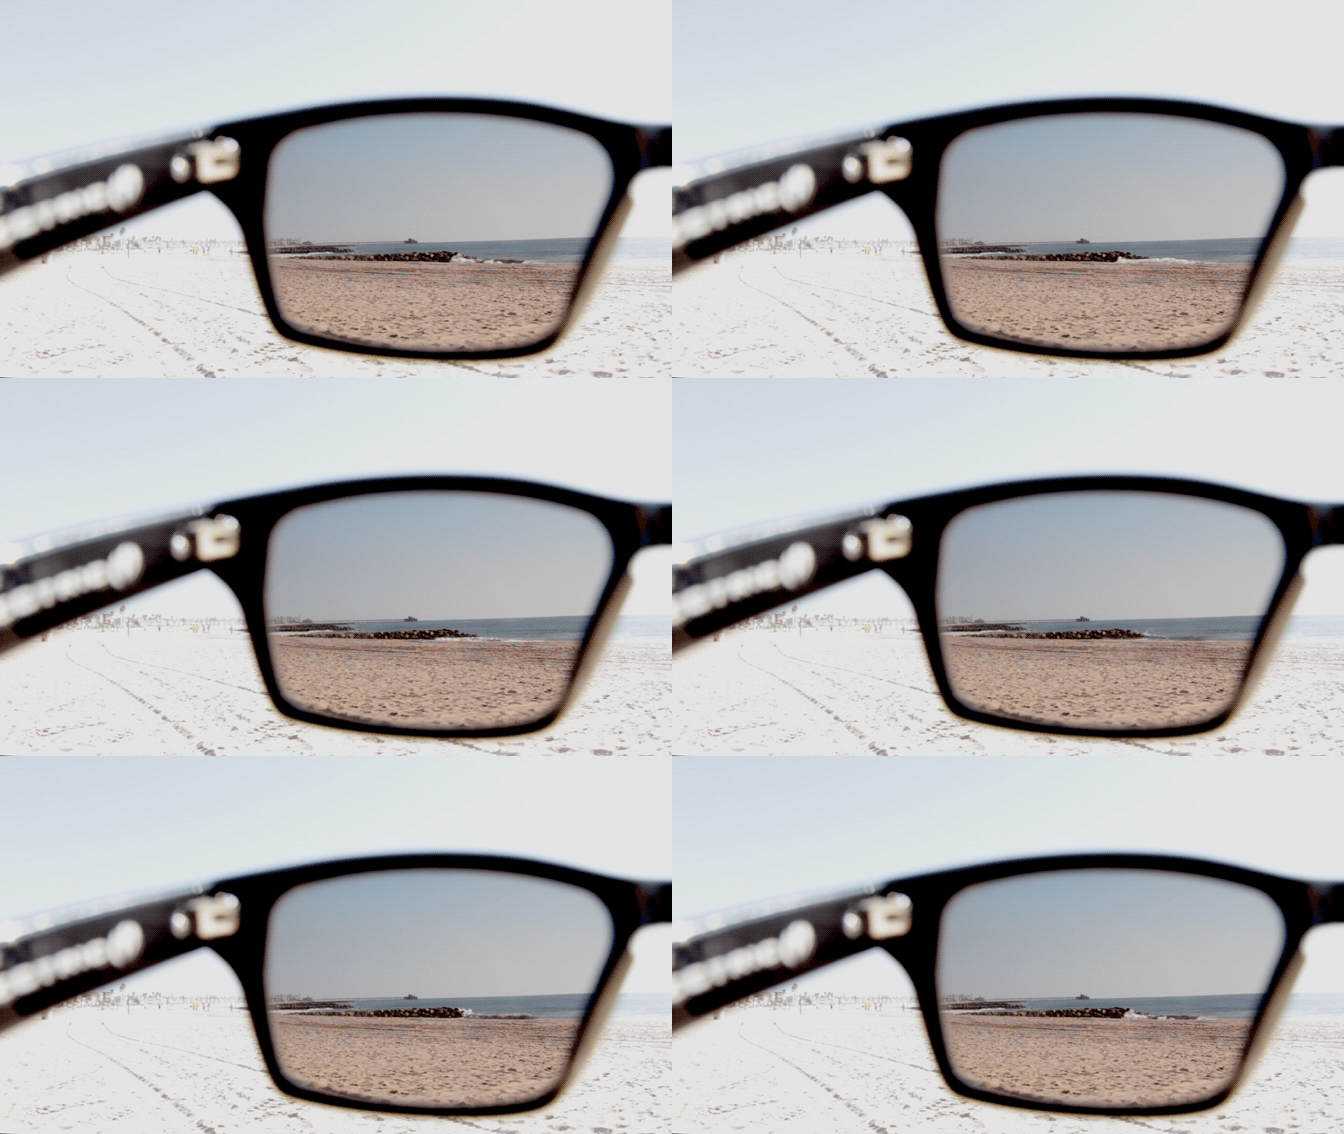
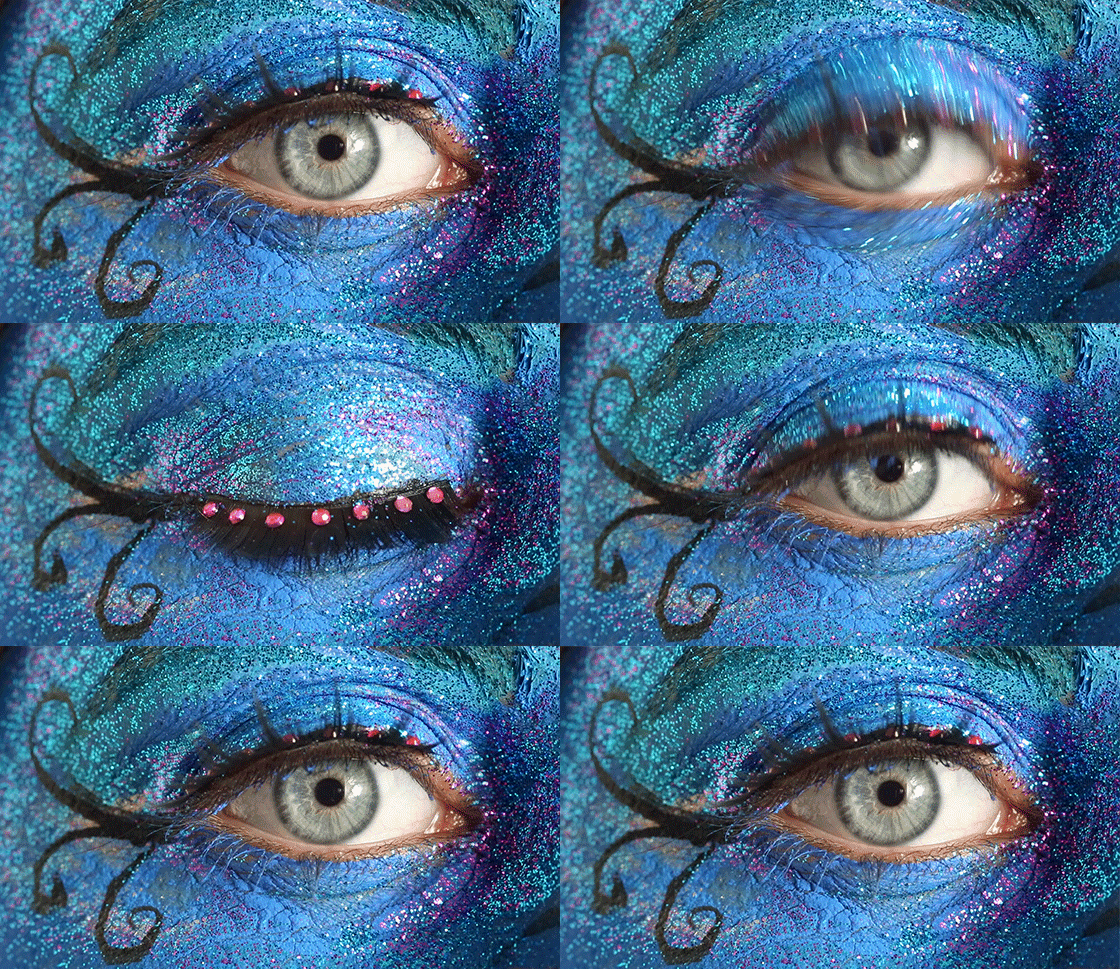
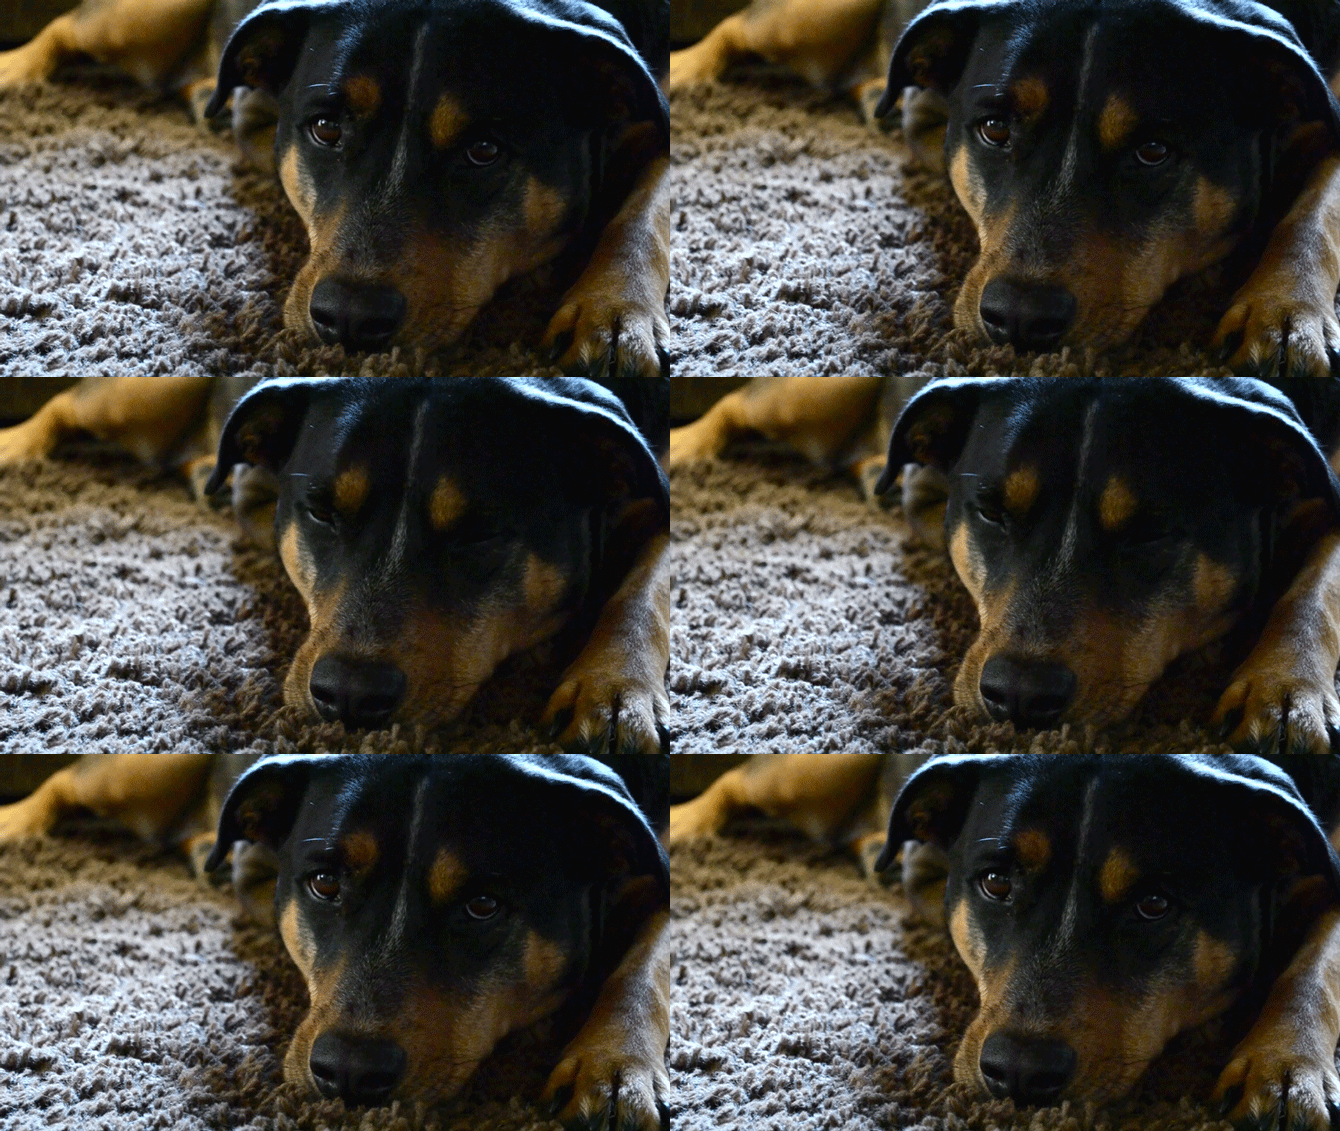
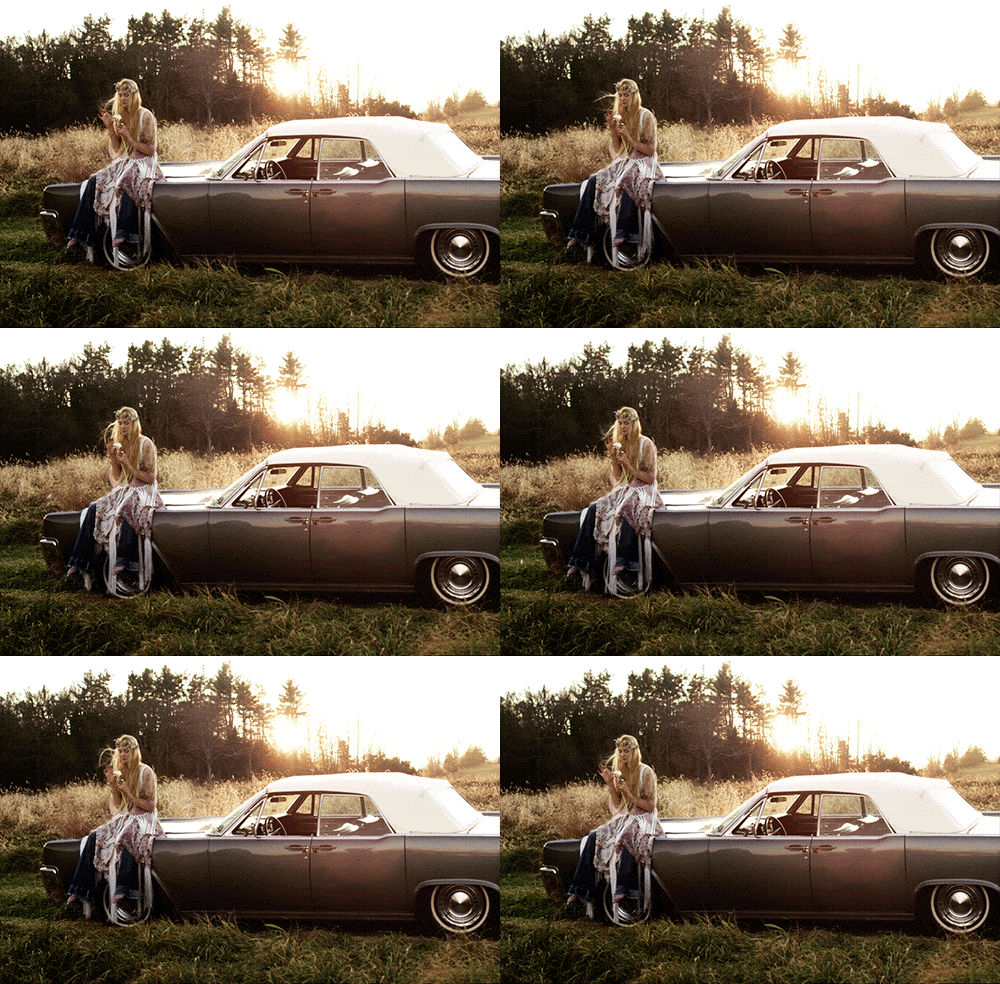
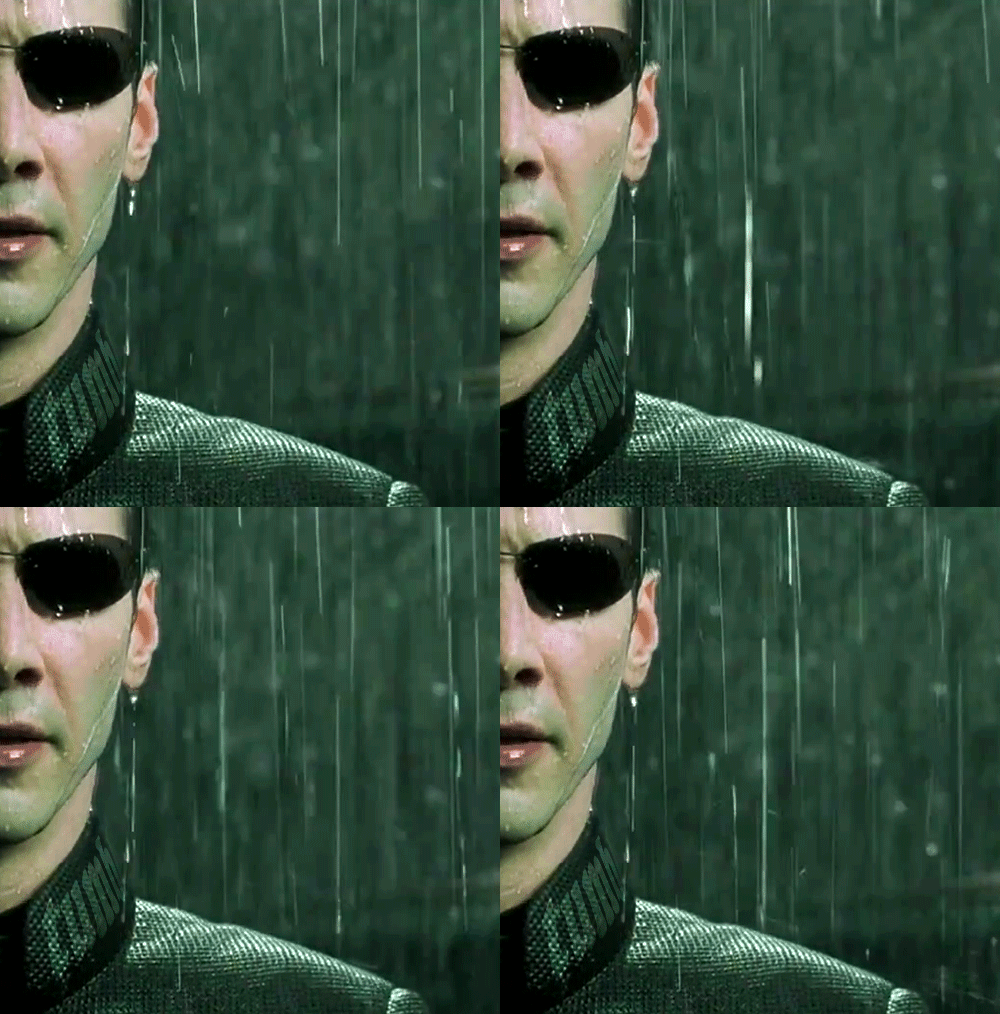
CinemagraphIn theory, cinemagraphs are high quality images that move. But in practice, they are much more than that. A cinemagraph delivers an experience, which is vibrant, entertaining and delightful. It’s artistic, captivating and impressive. I bet when you land on a website with cinemagraphs, you stay there for few extra seconds before closing the tab or switching to another website.
|
A cinemagraph is “more than a photo, but not quite a video.” Or at least that’s how Supermodel Coco Rocha summed them up.
Photo by Kevin Burg and Jamie Beck Technically, a cinemagraph is just a GIF or a Graphics Interchange Format. Basically, a short, animated file that is everywhere online these days. You’ve probably seen them on Tumblr, Reddit or 4Chan. Maybe you even remember them when they were blowing up on Myspace (or is that just this guy :). The beauty of a GIF is that you can share more than a photograph, so you’ll often see them used in memes. This is what’s great about cinemagraphs, too. Except unlike GIFs, this new art form is more sophisticated, subtle and often mysterious. It’s like GIFs have grown up, moved out of their mom’s basement, and are even trying to be sexy. Often, it works, too, as you can see below. Adding a subtle animation can make a photograph come to life. |
|
Using Photoshop to Edit Your Cinemagraph
After you've went out and shot your footage to create your cinemagraph, it's time to bring it into Photoshop. That's right, Photoshop does also offer video editing features! We start by importing our footage into Photoshop just like we would with any other still image. Once you've brought your footage into Photoshop, it should pop up with your video timeline. If you don't see your timeline, just go up to Window, and down to Timeline. The editing of your footage for a cinemagraph revolves around one concept. Your end frame needs to be the same as your beginning frame. That way it will create a continuous loop that looks completely seamless. Once we have our clips set up how we want, we need to use keyframes to adjust the visibility of the layers, or the Opacity. We set up our top clip with the opacity set at %100 and we gradually fade it out to %0. This will cause your top clip and bottom clip to blend together perfectly. Next we use a Stamp Visible Layer and paint black over the areas we want visible. In this case with the footage we are using, we painted black only over where the waves are. This is what really helps sell the effect. Sometimes everything in your scene won't work for a continuous motion, so creating a Stamp Visible Layer is a great way to control where the motion is coming from. Saving & Exporting Now that you have finished editing your Cinemagraph in photoshop, it's time for the export. You want to make sure you go to your menu and click "Save for Web". After that make sure that the file type is a GIF. PNG files and JPEG files do now support motion so it won't work if you don't export your file as a GIF. One of the cool features is you can simply click and drag your export Cinemagraph file into google and see how it would look on the web. |
