Pink Mouse House
  • Home
  • Graphic Design
    • Photoshop >
      • Photoshop 1
      • Photoshop 2
    • Pixlr
    • Canva
    • Illustrator
  • Extra Special
    • Back to School 2020
    • Art
    • Computer Science
    • Library
    • Music
    • Physical Education
    • Spanish
  • Camp STEM
    • Registration
  • Digital Citizenship

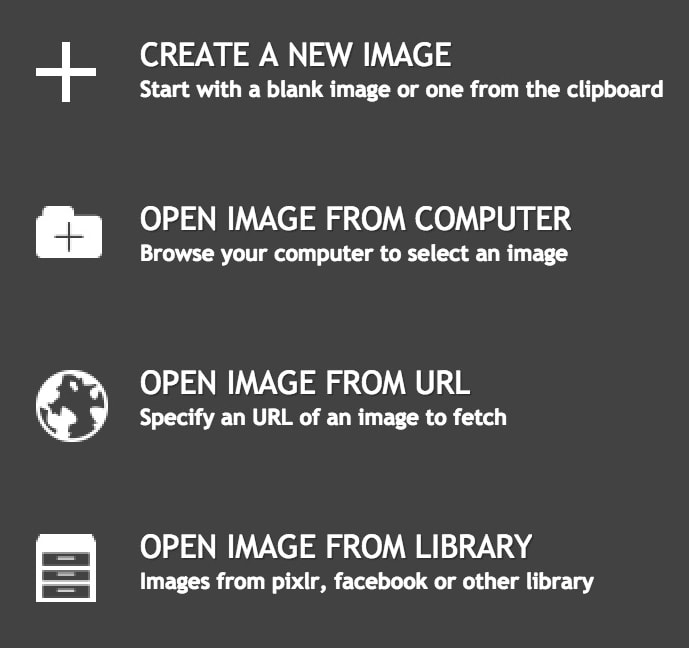
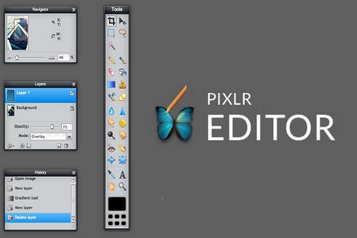
Welcome to Pixlr Editor

Students will use Pixlr Editor to complete the graphic design mini projects on this page.
Picture
Picture

Google Drive

When using Pixlr Editor you must save your work to Google Drive
Picture

Regina Martin

To edit, click on the text to start adding your own words.
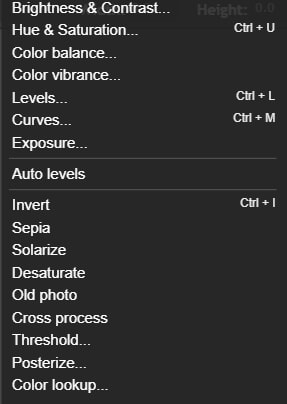
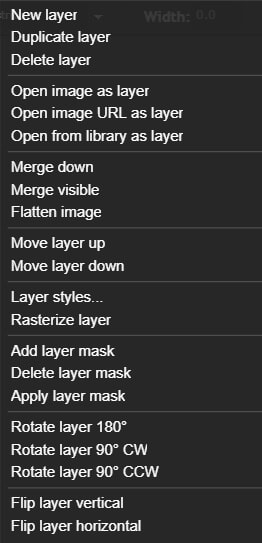
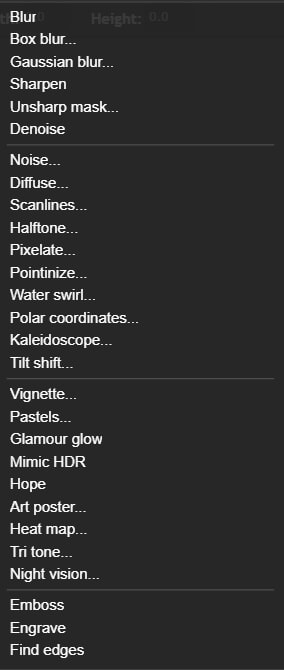
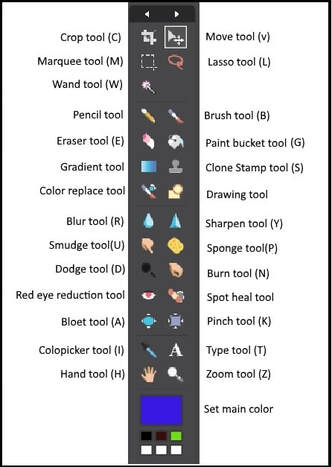
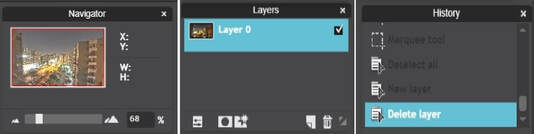
Pixlr is an online photo editor considered a good alternative to Adobe Photoshop. You can use it to edit images or create a new project from scratch. It allows you to work easily with the common editing tools such as layers, filters, masks, brushes and other tools.

​Pixlr is a free cloud-based (on the web) graphic design tool. Students may choose to use Pixlr to complete the assignments in this course if they need to complete the assignments outside of class. 
IF YOU NEED HELP: Please ask me or a peer tutor.
​There are four students in your class that are peer tutors. 

Pixlr Editor Fundamentals

Interface and Main Features

Picture
Picture
The app interface is very similar to Photoshop, To use it, you need to have some basic understanding of how image edit tools like select, crop, resize, layers, etc. The photo below is a snapshot of the interface.

At the top, there is a horizontal menu bar. It includes the following menus: file, edit, image, layer, adjustment, filter, view, language, help, and font. You have to remember that the menu bar contains tools that apply to the whole image.
 Upon opening the editor you will be prompted to upload a photo from your computer, a web page, or from the library.​

Pixlr Menu Bar

EDIT

editing tools including undo, redo, copy, paste, and free transform

IMAGE

crop, resize, and rotate your photo. ​
​

ADJUSTMENT

editing features including brightness, contrast, hue, saturation, color balance, and exposure

LAYER

add a mask layer adjust or move levels
​

FILTER

apply different filters including blur or sharpen,
Picture
Picture
Picture
Picture
Picture

Picture

Pixlr Tool Boxes

To the left of the interface, there is the tools box. It has 28 different editing tools that can be used to edit and adjust a certain selected area of your photo. The toolbar names are shown in the following photos with their shortcut keys (Alt key + letter).

Pixlr Navigator Box

To the right, there is a navigator box that allows you to zoom in and out to make the editing job more easily done. A Layer box is available to let you add a new layer, or a mask layer, and many other things. Also, a history box is there to let you go specific editing stage, all your editing actions are recorded.
Picture

Assignments

  1. Lesson 1 - Getting Started with Photo Editing - click here - or click here
  2. Lesson 3 - Creating a Google Slide for your Pixlr Work - click here - or click here 
  3. Lesson 4 - Cropping Photos - Click Here - or click here 
  4. Lesson 5 - Resizing Photos - click here 
  5. Lesson 6 - Personal Logo - click here - or click here 
  6. Lesson 7 - Creating Transparent Photos - click here 
  7. Lesson 8 - Remove Pimples from Portraits - click here - or click here
  8. Lesson 9 - Layer Styles - click here - or click here
  9. Lesson 10 - Hue Samples - click here- or click here (there is no sound in this video, follow the yellow text box instructions) 
  10. Lesson 11 - Filters - click here - or click here (there is no sound in this video, follow the yellow text box instructions)
  11. Lesson 12 - Color Replace Tool - click here  - or click here 
  12. Lesson 13 - Pattern Text - click here 
  13. Lesson 14 - Collage - click here 
  14. Lesson 15 - Color Isolation / Splash - click here 
  15. Lesson 16 - Working with Layers - click here 
  16. Lesson 17 - How to Screenshot - click here 
  17. Lesson 18 - Creating Shadows - click here - (project directions: create three photos with shadows, use any of these objects = coke can, apple, tower, bottle, stool) 
  18. Lesson 19 - Removing Objects from Photos - click here
  19. Lesson 20 - Objects on Desk - click here 
  20. Lesson 21 - Big Head Photo - click here There is no sound in this video. You can use any celebrity photo.
  21. Lesson 22 - Pixlr Wallpapers - click here 
  22. Lesson 23 - Re-Coler Dark Eyes - skip the first 30 seconds - click here 
  23. Lesson 24 - Objects in Space Painting - click here
  24. Lesson 25 - How to Make a Facebook Cover Photo - click here 
  25. Lesson 26 - Green Screen Basics - click here (for green screen animals, click this >.< ) 
  26. Lesson 27 - Star Wars Project - click here for project directions 
  27. ​Lesson 28 - Movie Poster Face Swap - click here for project directions
Picture

To  receive credit for these assignments you need to turn them in on the assignment post in Google Classroom. 

 AS EXPLAINED IN CLASS to  receive credit for these assignments you need to turn them in on the assignment post in Google Classroom.  To receive full credit for the assignments must be turned in on time and completed as per the directions with your name included in the document. You must attach the Photoshop document (layered PXD if using Pixlr) and a JPEG of your project to this post.
Even if you did not finish the assignment, turn in what you have by the due date to receive credit for the work you have completed.
​​https://pixlrforteachers.wordpress.com/how-to-use-pixlr-in-the-classroom/
Picture


Pink Mouse House

  • Home
  • Graphic Design
    • Photoshop >
      • Photoshop 1
      • Photoshop 2
    • Pixlr
    • Canva
    • Illustrator
  • Extra Special
    • Back to School 2020
    • Art
    • Computer Science
    • Library
    • Music
    • Physical Education
    • Spanish
  • Camp STEM
    • Registration
  • Digital Citizenship